How to download and install Visual Studio IDE taking an example of C# (C Sharp)
Microsoft Visual Studio is a full-featured integrated development environment (IDE) for Android, iOS, Windows, web, and cloud-based applications.
Currently, it has three edition-
- Community
Powerful IDE, free for students, open-source contributors, and individuals.
- Professional
Professional IDE best suited to small teams.
- Enterprise
Scalable, end-to-end solution for teams of any size.
To install Microsoft Visual Studio in the window, follow these steps:
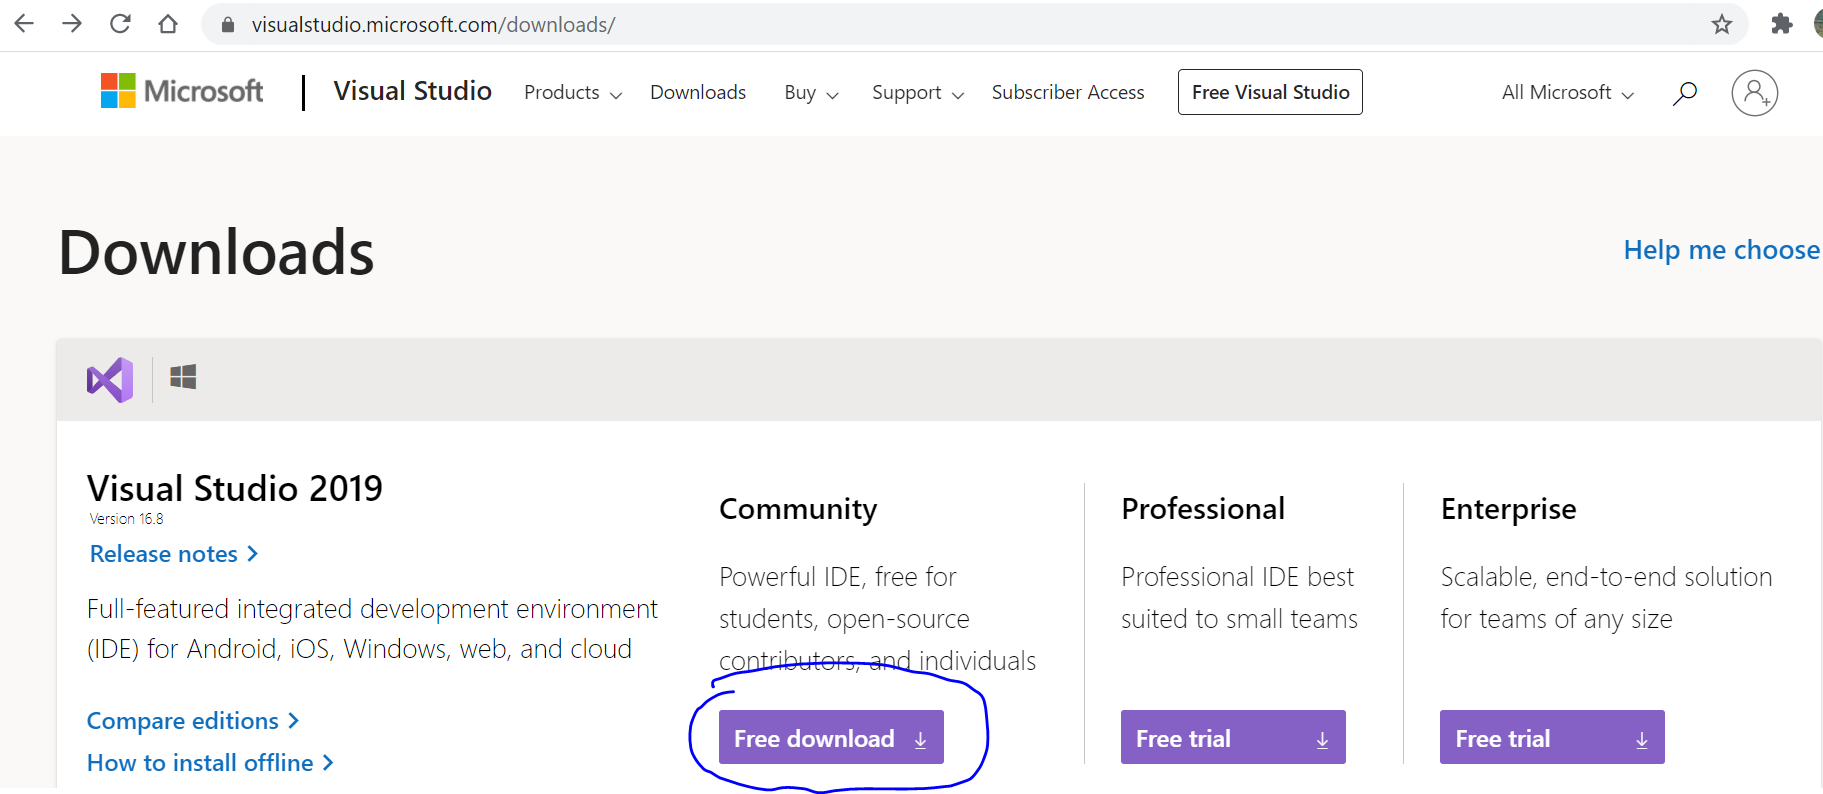
Step 1:Download Microsoft Visual Studio from https://visualstudio.microsoft.com/downloads/ and click on free download under the community section, your download will automatically start.

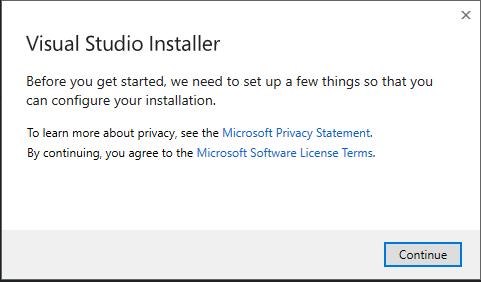
Step 2: Once the download is complete, open the Vs community installer .exe file and click on continue
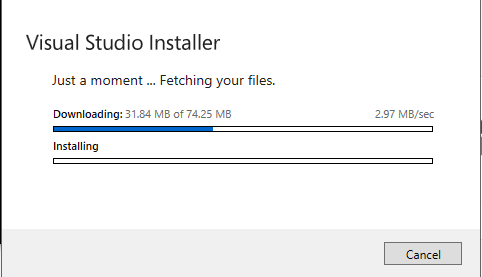
Step 3: It will start downloading the initial file required to run Visual Studio and try to build your installer package.
Step 4: On the next screen, you can install the thing you want.
You can also install it later according to the requirement.
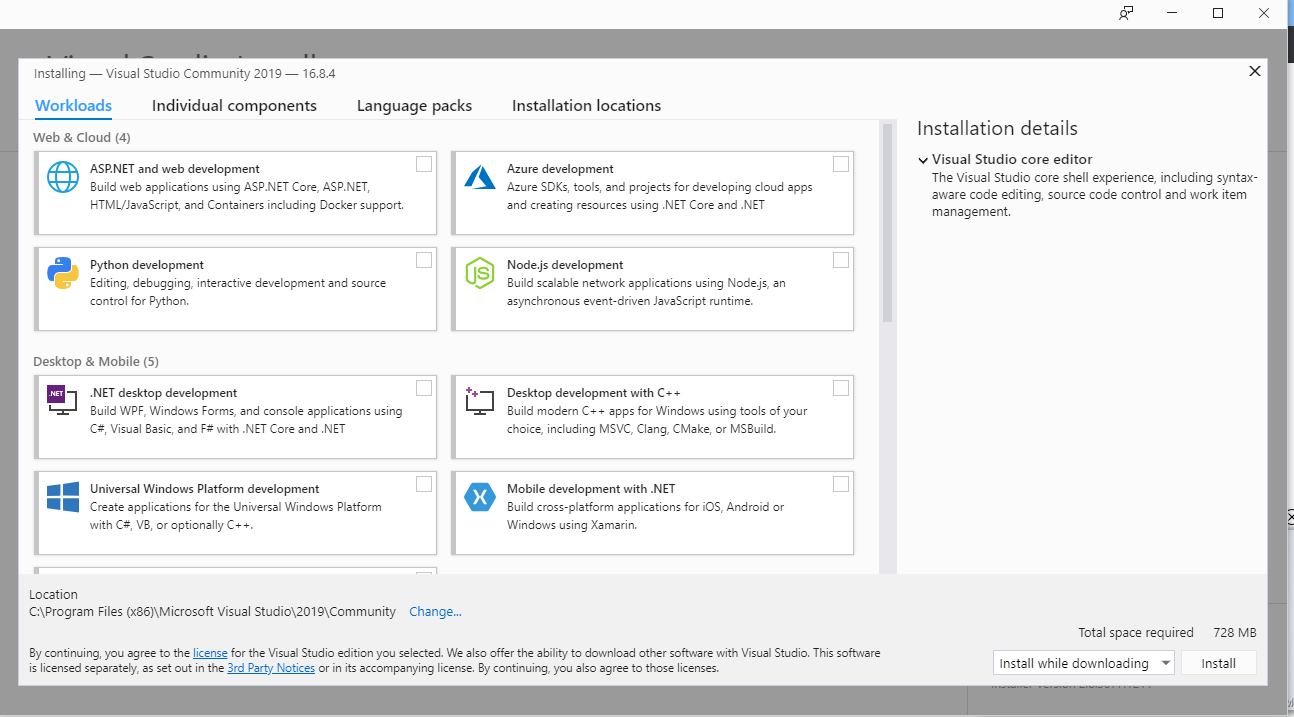
You can click on install to end the installation
Example to further install template for .net framework (C#), follow these steps:
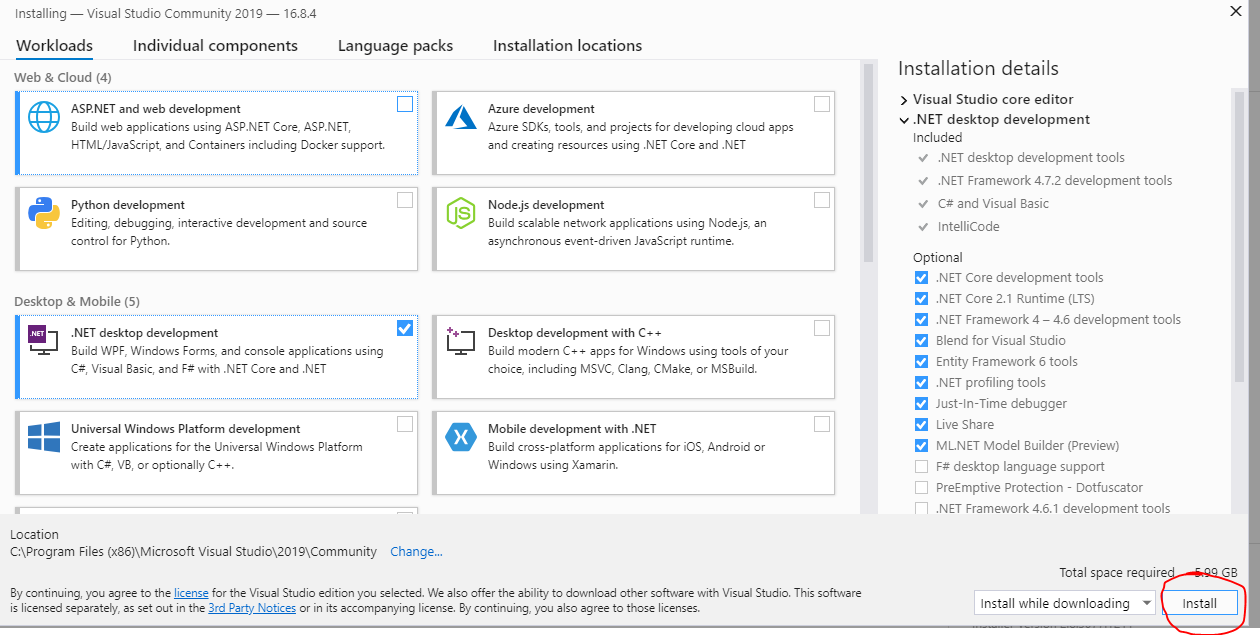
Step 1: Click on the .net desktop development – checkbox, it will show all the installation details on the right-hand side, choose all the necessary items and click on install.
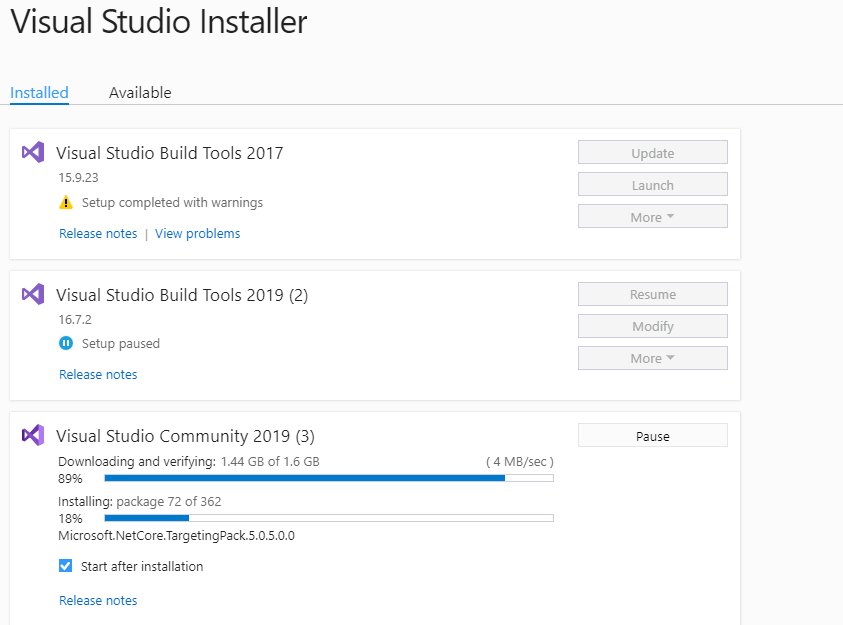
Step 2: It will start installing
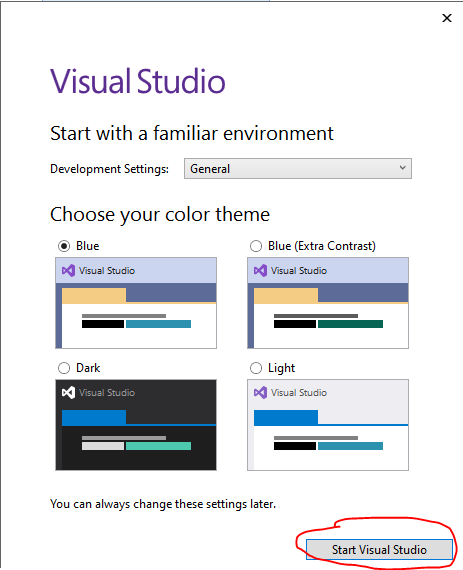
Step 3: Choose your color theme and Click on start visual studio
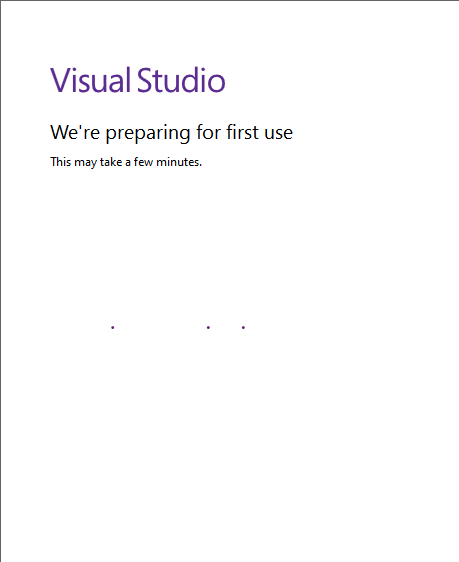
Step 4: Now create an account and sign in from it.
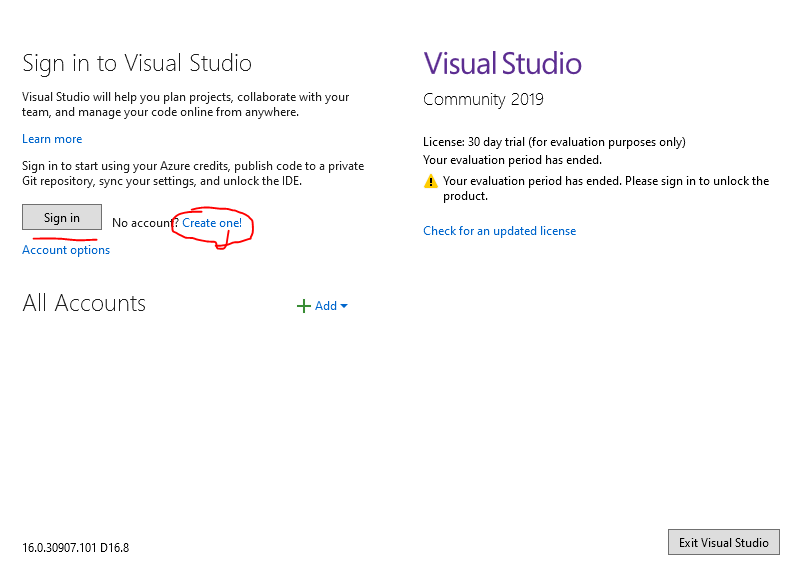
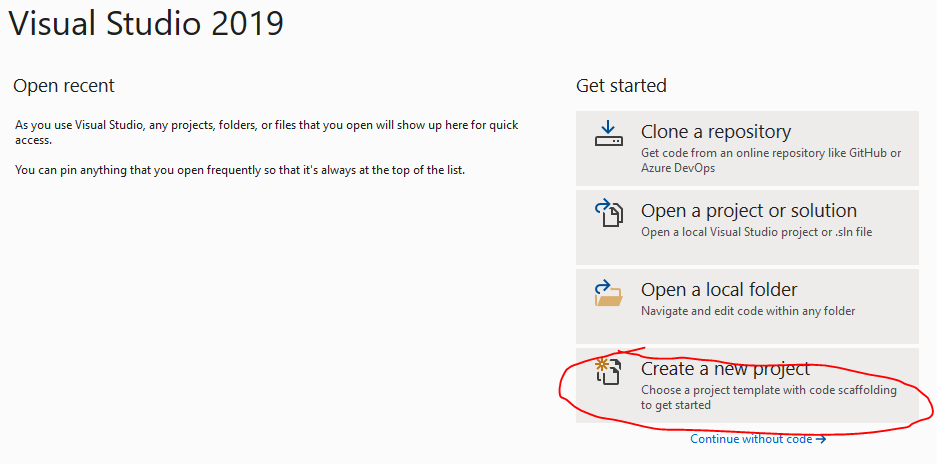
Step 5: Create a new project or click continue without code ( Where you can create project later by going to file->new->project )
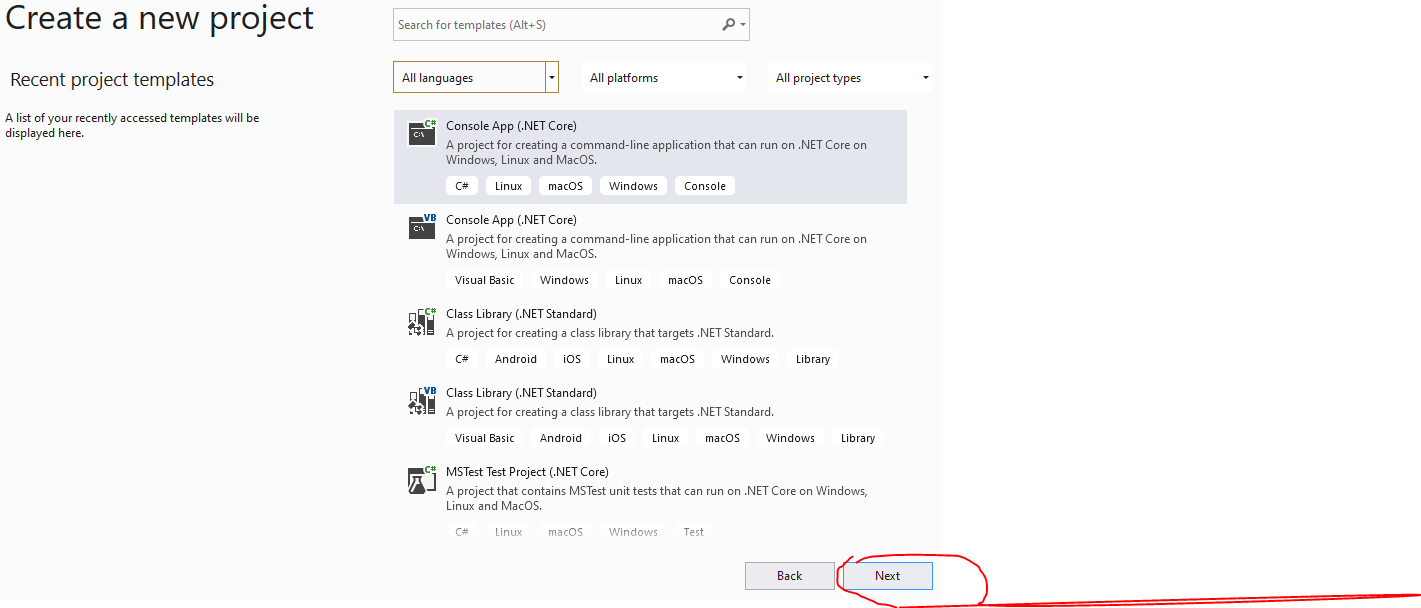
Step 6: Select Console App( .net Core )
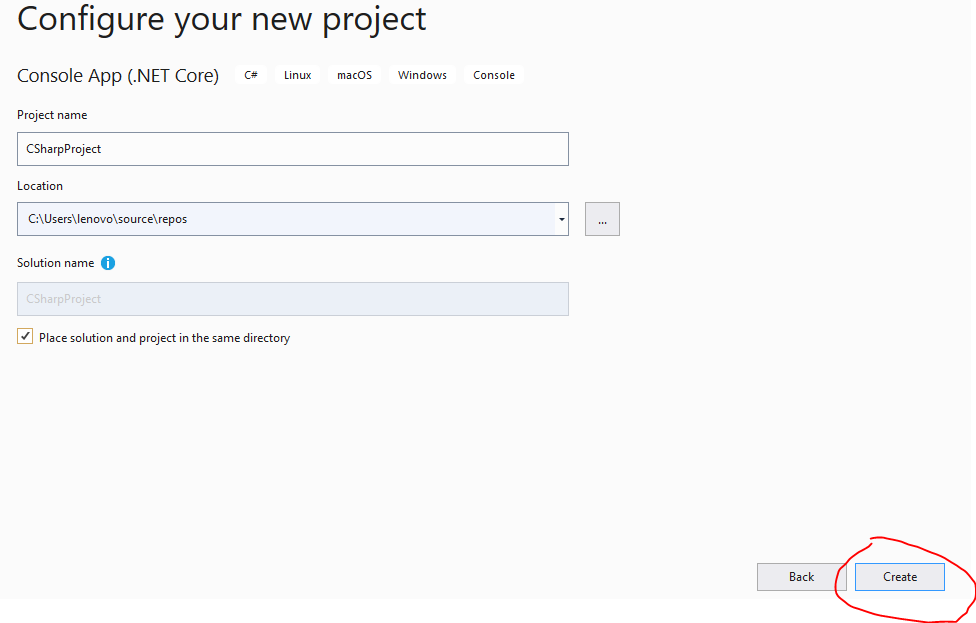
Step 7: Enter Name(anything) and Click On Create
Step 8: Hello World Program is already created by IDE while creating project
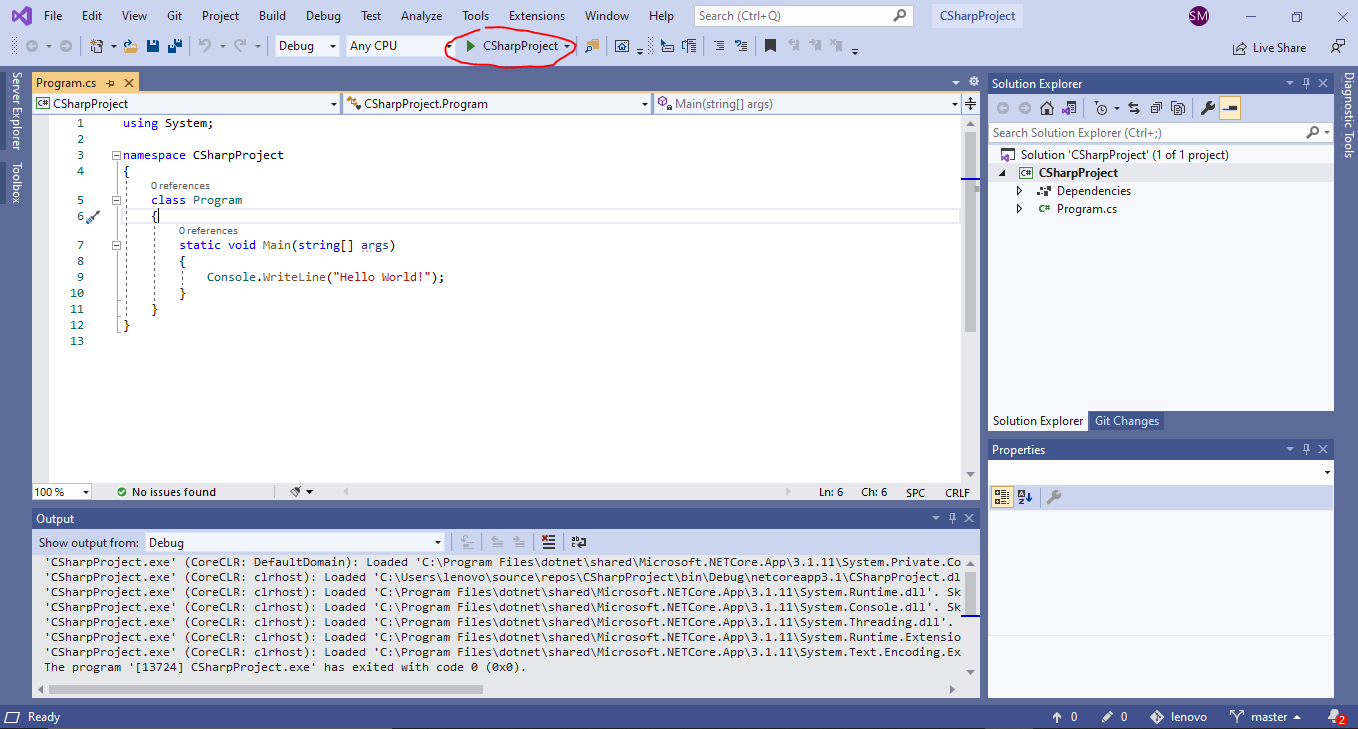
Step 9: Just press F5 or click the Run arrow, the output will be opened in Command Prompt.

This is an example for c#, We can also use Microsoft visual studio for another purpose.