How To Download And Install MySql Workbench
To install MySQL Workbench, follow these steps:
Prerequisite - Xampp or Wamp Server
Check this blog to install XAMPP Server on Windows.
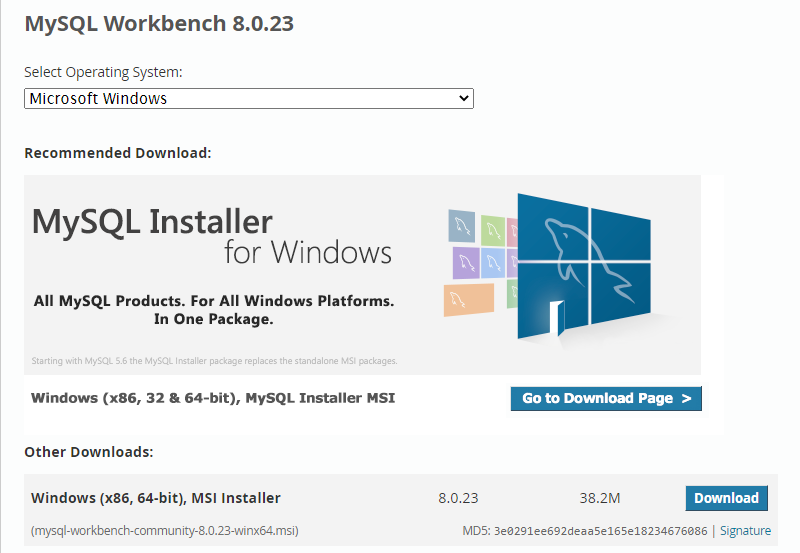
Step 1: Download Mysql Workbench from https://dev.mysql.com/downloads/workbench/ and click on the download
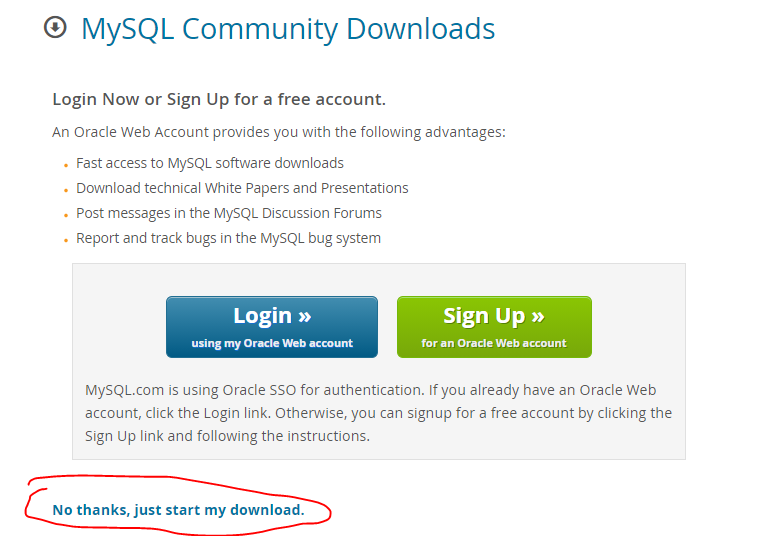
Step 2: On the next page, click on "No thanks, just start my download".
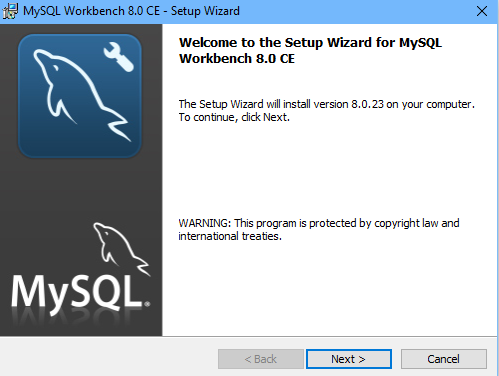
Step 3: Once the download is complete, open the .exe file of Mysql Workbench and click on next to continue
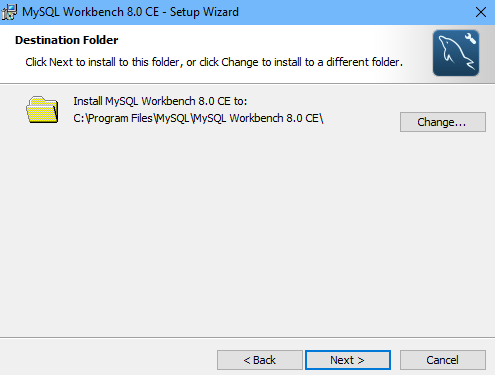
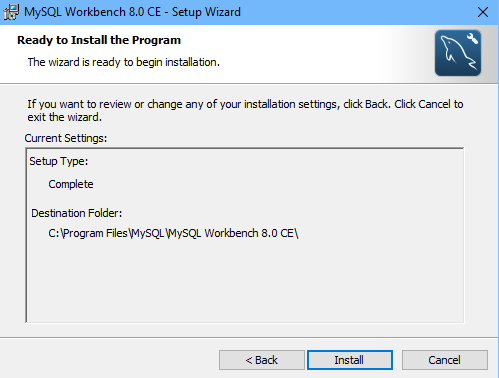
Step 4: Keep Install Location as by default or change it, if you want.
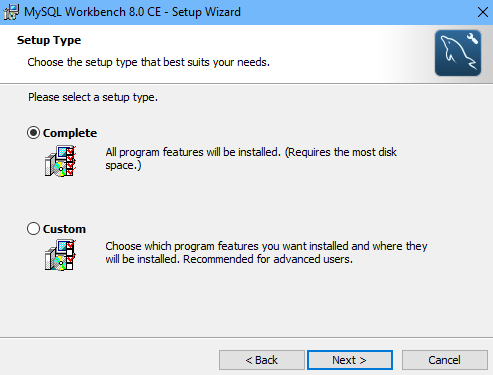
Step 5: Choose the Setup type as Complete.
Step 6: Now click on Install.
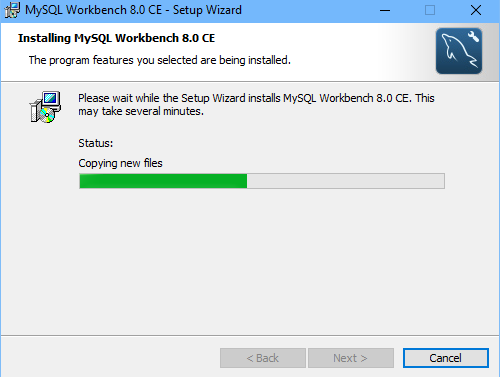
Step 7: Then your installation will start and click on the finish after installation
Hence MySQL Workbench is successfully installed.
Running First SQL Query in MySQL Workbench
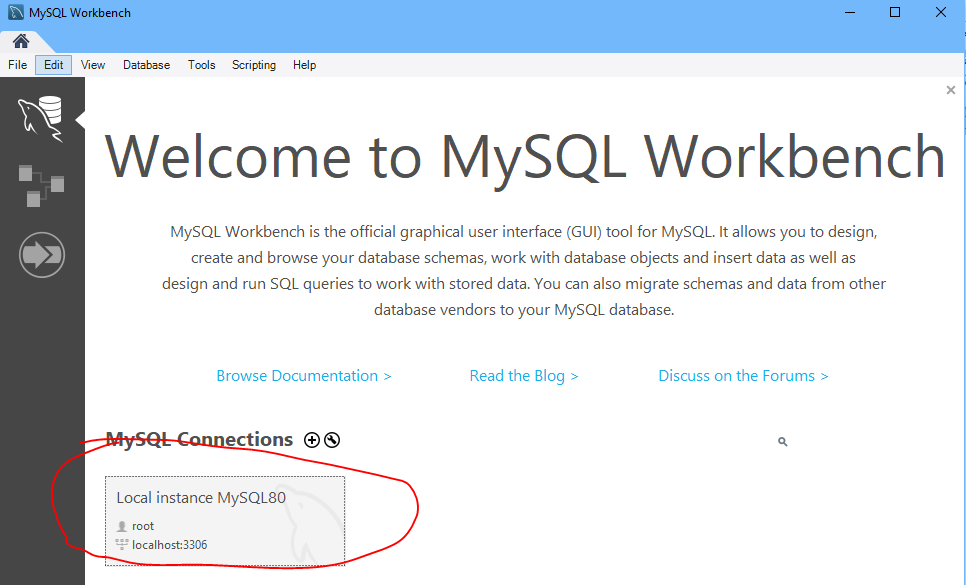
Step 1: Open the MySQL Workbench from the window search bar. It will look like this
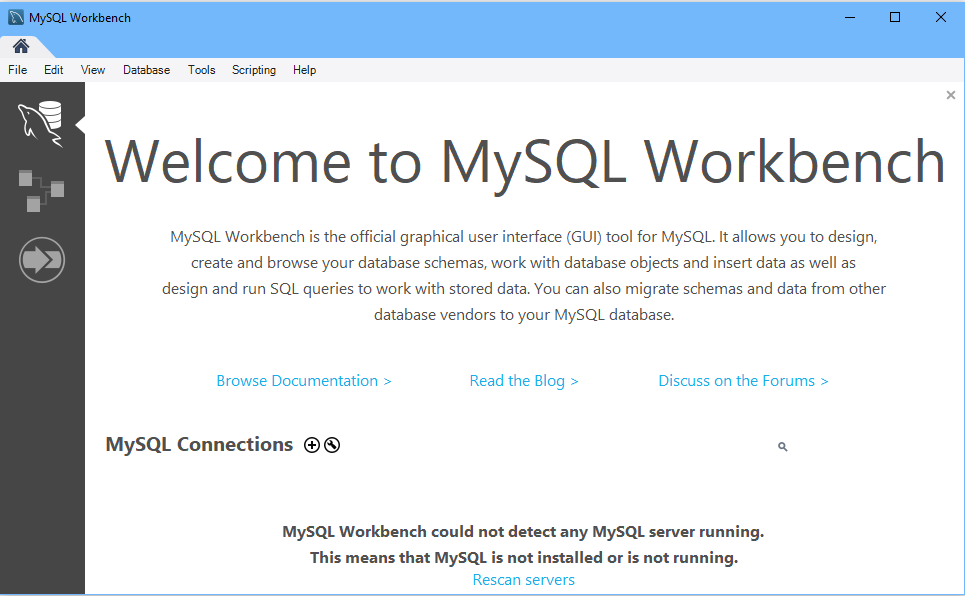
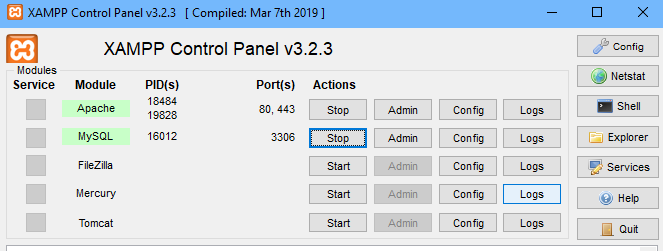
Step 2: First Switch-On (Start) the Apache and Mysql from the xampp or wamp server.
Then Click on rescan servers. It will detect Mysql ( port - 3306 ) that are already started in the xampp or wamp server.
Step 3: After Scanning it will show the MySQL Connections.
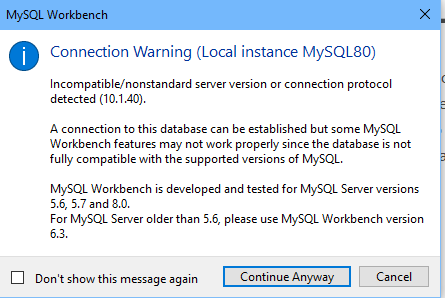
Step 4: Then it will show a warning, click on Continue Anyway.
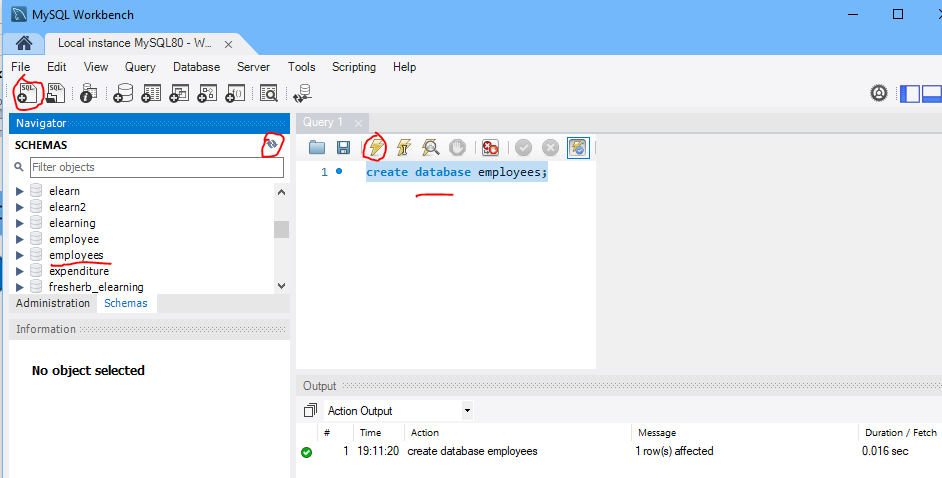
Step 5: Dashboard will be opened.
Open a query editor mark on the left side and write the first query to create a database such as “create database employees” and click on execute (power symbol)
It will create a database of employees.
If the output shows a green mark then it is executed successfully.
If it still not showing click on refresh, marked in an image.
Congratulation, You successfully execute your first SQL Query.